

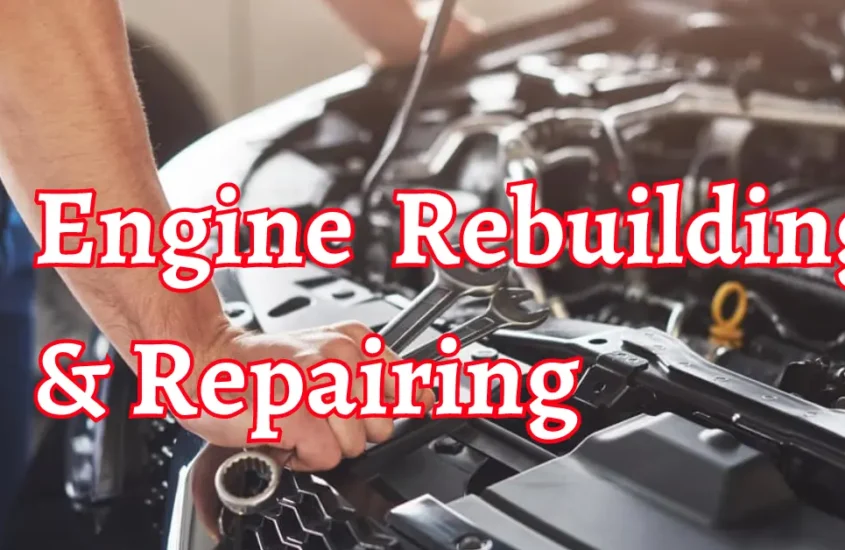
How to Rebuild an Engine: A Comprehensive Guide for Automotive Enthusiasts
Learn how to rebuild an engine with our comprehensive guide for automotive enthusiasts. Discover step-by-step instructions, expert tips, and essential tools for a successful engine rebuild. Rejuvenate your vehicle’s performance and gain a deeper understanding of your engine. Start your engine-rebuilding journey today!
Introduction
Have you ever wondered what happens beneath your car’s hood? The heart and soul of every vehicle is the engine, with all its complicated parts. There are different types of an engine. Every Vehicle has different type of an engine. You’ve come to the perfect site if you’re an enthusiastic car enthusiast wishing to learn more about how to rebuild an engine or Engine Repairing . We will lead you through rebuilding an engine in this in-depth manual, equipping you with the knowledge and abilities to embark on this challenging but worthwhile task.
How To Rebuild An Engine: Exploring the Fundamentals

Let’s start by comprehending the fundamentals of engine rebuilding before getting into the specifics. The main engine parts, their roles, and the potential reasons for rebuilding an engine will all be covered in this section.
The Engine: A Mechanical Symphony
Before Going to know about engine rebuilding, Lets know about what is an engine? vehicle’s power source, the engine, is a complicated technology that transforms gasoline into mechanical energy. It comprises various vital parts, such as the block, cylinder heads, pistons, crankshaft, and camshaft, which all function flawlessly in unison to produce controlled explosions within the combustion chambers.
Reasons for Rebuilding an Engine

There are a variety of situations when an engine rebuild is required. Here are a few such scenarios:
1. Wear and Tear: As engines age, they may develop wear and tear, which lowers their efficiency and performance. The engine’s optimum performance may be recovered by rebuilding it.
2. Engine Failure: When an engine sustains significant damage or fails, rebuilding it may be more affordable than buying a new machine.
3. Performance Enhancement: Engine rebuilding also gives a chance for performance modifications, enabling enthusiasts to unleash more power and raise the performance of their vehicles.
Let’s start rebuilding an engine step by step now that we have a strong base.
Gathering the Necessary Tools and Equipment

Ensure you have all the necessary tools and equipment before starting your engine repair project. For a complete list to get you started, see:
- Wrench socket set
- ratchet wrench
- flat-head and Phillips screwdrivers
- Pliers with a sliding joint and needle nose
- crane or engine hoist
- engine rest
- Engine honing
- ring compressor for pistons
- Gauge on a whim
- seal scraper
- spring compressor for valves
- clock light
- Engine component lubricant
You will spend less time and experience less angst if you have these tools on hand while rebuilding an engine.
Engine Removal and Disassembly
It’s time to remove the engine from the car and dismantle it now that you have the required equipment. Take these actions:
1. Prepare the Work Area: Locate a clean, well-ventilated workstation with plenty of light. To avoid any harm to the surface, spread out a protective sheet or piece of cardboard.
2. Drain Fluids: Start by removing all fluids from the engine, including the coolant, gasoline, and engine oil. Refer to your vehicle’s handbook for details on the precise procedures needed.
3. Disconnect Components: Disconnect the engine’s fuel, coolant, and electrical connections. For eventual reassembly, label each link or take photographs.
4. Remove Engine: Carefully pull the engine out of the vehicle using an engine hoist or crane. Make sure you have an excellent lifting point and abide by safety regulations.
5. Disassemble the Engine: Remove the valve covers, timing belt or chain, and the intake and exhaust manifolds. Continue by removing the cylinder heads, pistons, and crankshaft, identifying and arranging each part.
Inspection and Cleaning
After dismantling the engine, it is essential to properly examine and clean each component to prepare it for reassembly. This stage is critical for locating worn or broken parts that need repair. Follow these recommendations:
1. Inspect the Cylinder Head: Examine the cylinder head for fractures, degradation of the valve seats, and symptoms of warping. Utilize a straightedge and feeler gauge to check that the surface is level and meets the required tolerances.
2. Check Pistons and Connecting Rods: Examine each piston for symptoms of excessive wear, such as scratches or scuffs. Similar to this, look for any evidence of deterioration or deformation in the connecting rods.
3. Evaluate the Crankshaft: Examine the crankshaft for symptoms of excessive wear, such as scoring or grooves. Look for any evidence of deterioration in the journals.
4. Clean All Components: All components should be cleaned thoroughly using a degreaser and appropriate cleaning solution for each element. Remove any accumulated dirt, carbon deposits, or old gasket material. For the best results, be thorough in your cleaning procedures.
Replacement of Worn or Damaged Parts
You can come across parts that need to be replaced when doing the check. If you want to be sure that your rebuilt engine lasts a long time and performs well, you must only utilize high-quality replacement components. Here are a few parts that often need to be replaced:
1. Piston Rings: It’s critical to repair worn or broken piston rings. Rings that are adequately installed guarantee optimum compression and reduce oil consumption.
2. Bearings: Check for wear on the connecting rod and crankshaft bearings. To ensure appropriate lubrication and lower friction, replace them if they have worn beyond the point of acceptable wear.
3. Gaskets and Seals: Replace all gaskets and seals to stop oil leaks and guarantee a tight seal between components.
4. Timing Belt or Chain: To prevent potentially catastrophic engine failure, replace your engine’s timing belt or chain if it shows wear or the prescribed service period has passed.
Remember to refer to the manufacturer’s specs and recommendations when choosing replacement components to guarantee compatibility and top performance.
Reassembly and Reinstallation
It’s time to begin reassembling the engine now that all the required components have been examined, cleaned, and changed. Take these actions:
1. Prepare the Block: Ensure the engine block is completely clean and free of dirt and oil. In case new freeze plugs are required, do so.
2. Install Pistons and Connecting Rods: Lubricate the pistons with engine assembly lubricant before installing new piston rings. Ensure the piston and connecting rod assemblies are correctly oriented and aligned before carefully inserting them into the corresponding cylinders.
3. Assemble the Cylinder Heads: Clean the cylinder head surfaces and replace new head gaskets before assembling the cylinder heads. Reinstall the cylinder heads onto the engine block using the torque levels and sequence recommended by the manufacturer.
4. Reinstall Remaining Components: To reinstall all remaining parts, including the intake and exhaust manifolds, valve covers, timing belt or chain, and all electrical, fuel, and coolant connections, follow the disassembly procedure in reverse order.
5. Refill Fluids: After everything has been put back together, replenish the engine’s fluids with new engine oil, coolant, and gasoline. Make careful to go by the manufacturer’s instructions about the precise kind and amount of fluids.
6. Test and Adjust: Before turning on the engine, test and fine-tune all connections, timing, and adjustments. To guarantee appropriate ignition timing, use a timing light.
Conclusion
Automotive enthusiasts may learn more about their cars and unleash more performance by undertaking the challenging but rewarding task of how to rebuild an engine. After reading this detailed guide of engine repairing, you have the knowledge and assurance to start your engine-rebuilding adventure. Take your time, pay attention to the little things, and don’t hesitate to ask for help when needed. Happy redevelopment!
FAQs
1. Can a beginner rebuild an engine?
Absolutely! Although rebuilding an engine might be challenging, even novices can do it effectively with the correct information, equipment, and assistance. Taking your time, carefully following directions, and asking for help or advice when necessary are essential.
2. How long does it take to rebuild an engine?
The intricacy of the engine, your degree of expertise, and the accessibility of the necessary equipment may all affect how long it takes to repair a motor. The whole procedure takes an average of a few days to a few weeks.
3. Do I need specialized tools to rebuild an engine?
Even though specific tools are needed for engine rebuilding, if you don’t have them on hand, many of them may be leased or borrowed. However, if you intend to work on engines often, investing in a basic set of equipment will pay off in the long term.
4. Should I consult a professional or attempt it myself?
It’s usually a good idea to get advice from an expert or experienced technician if you’re new to engine rebuilding or need clarification on any procedure component. They can provide insightful advice, aid in problem-solving, and guarantee that your engine is rebuilt to the most excellent possible standards.
5. How can I ensure the longevity of my rebuilt engine?
Adhere to the following recommendations to prolong the life of your rebuilt engine:
Follow the manufacturer’s instructions for changing the engine oil and filter regularly.
- By keeping the correct coolant levels and often cleansing the cooling system, you can keep it in excellent shape.
- Follow the specified octane rating for your engine and use high-quality gasoline.
- Look for any unusual sounds, leaks, or performance problems with the engine and fix them immediately.